
Game Boy Restored
Today marks 30 years since the Game Boy’s initial release in Japan. After seeing loads of Game Boy tributes for the handheld, I decided to dig up my old system for a first-hand experience down memory lane.
It was in pretty shoddy condition — unable to power on, battery corrosion inside, possible paint markings on the back, and general grime throughout. I’ve been reluctant to open it up to attempt a repair, concerned about the reliability of the plastic around the screws after 30ish years.
Well, there’s no better time than Easter — a day of resurrection — to take a crack at it. At least I could say I tried to bring this gamer boy back into the world.
Throughout the teardown, I took a few photos of some of main unit and boards, posting them to Instagram. At the compliment of friend Sam Gross, I’ve decided to post them here as well.
My photo setup is nothing fancy:
- iPhone XS
- IKEA Malm desk (white)
- generic table lamp
- Philips Hue White Extension Bulb A19 E26
- Apple Photos app auto-enhance
- Instagram editing tools
- Video: Apple’s Clips app + Instagram’s ‘Lark’ filter
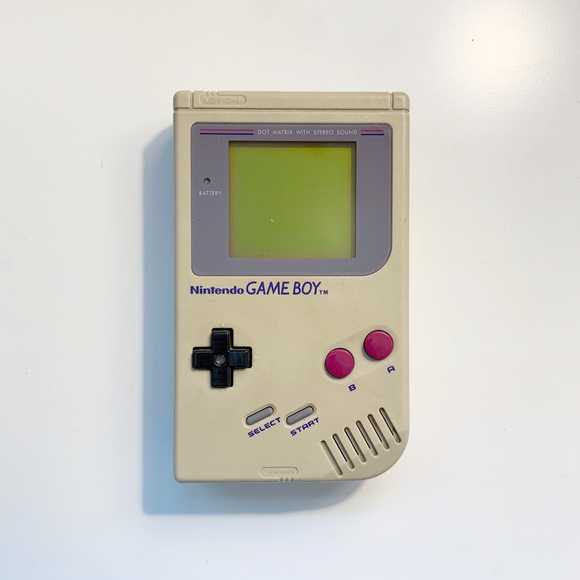
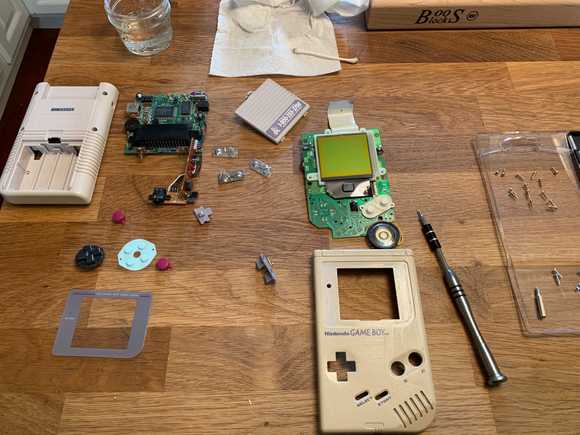
The Game Boy, pre-spa treatment:
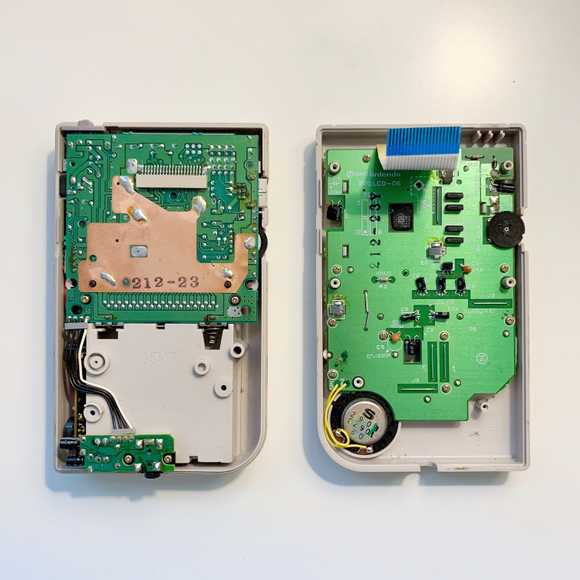
Both sides of the brain:
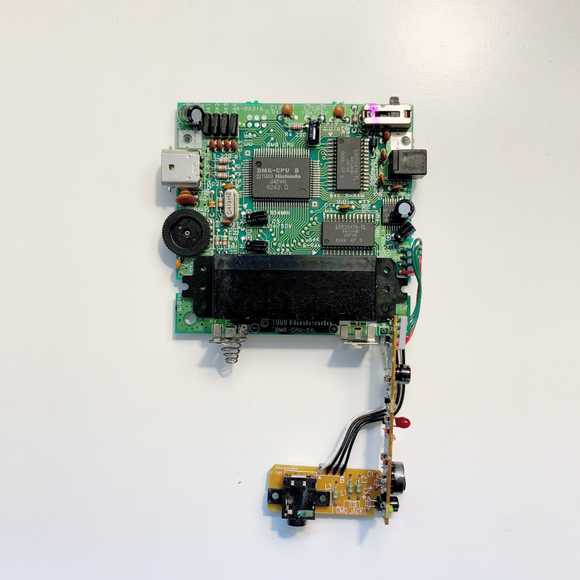
Motherboard (3)
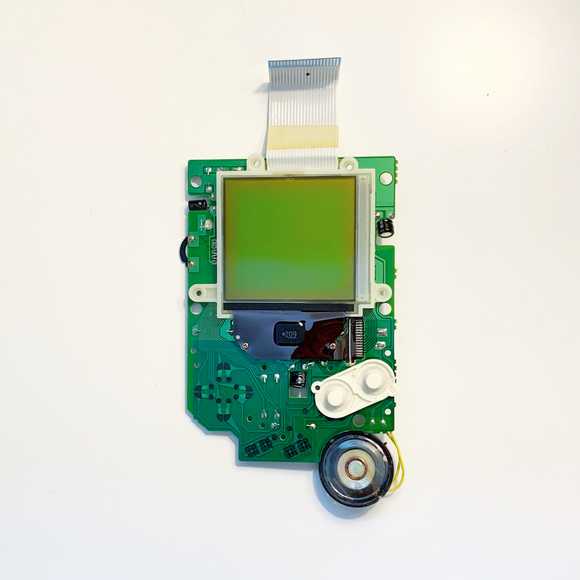
Display circuit board
I didn’t take a picture, but there was considerable battery corrosion on the battery contacts. This was the likely culprit of the power issue. To clean, I popped out the battery contacts and submerged them in distilled white vinegar for about 10–15 minutes. They came out looking brand new.
Once all of the guts had been removed, I took a baby wipe to the exterior and buttons. For interior grime, I soaked a Q-tip in the white vinegar and swabbed it out.
After all plastic had been cleaned, it was time for reassembly and the moment of truth…
Happy 30th, Game Boy.
Retr0bright Update
A restoration is not complete without attention paid to the appearance. The more I looked at the end result of my Game Boy restoration, the more I was bothered by the yellowing of the casing.
The yellowing of ‘80s and ‘90s electronics plastics is caused by a combination bromine — afire retardant — and exposure to UV light. The plastic is known as acrylonitrile butadiene styrene, or ABS.
The method to reverse the effect of bromine is referred to as retr0bright and includes a mixture of hydrogen peroxide, xanthan gum, glycerin, and “oxy” laundry booster. Being the lazy sap I am, I decided to opt in for a discovered alternative: Salon Care by Sally Beauty.
Wearing latex gloves, painted a generous amount of the Salon Care on to the disassembled casing of the Game Boy, wrapped it in Stretch-Tite plastic wrap, and placed the piece outside in direct sunlight.
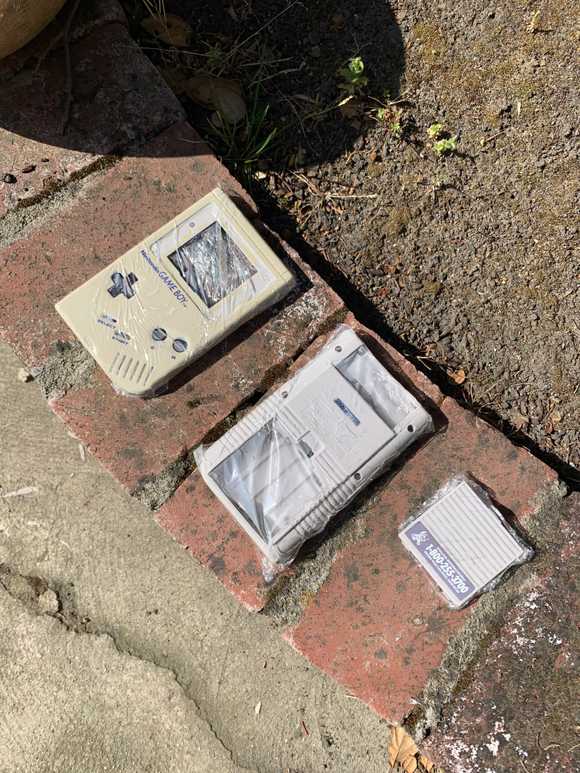
Essential: The Salon Care coated plastic should be exposed to UV light for 4–6 hours total. However, it is critical to massage the plastic wrap + Salon Care every 45–60 minutes or so. This helps avoid air bubbles which can contribute to blotchiness in the end result. (This is where I goofed.) Likewise, you should rinse the plastic and re-apply the Salon Care every 90–120 minutes as it begins to evaporate after lengthy exposure. (Another goof of mine. I had to redo the process the next day as the Salon Care seemed to lose its effect after about 2 hours.)
After the process was complete — which is to say the color reversal was at a point that was good enough for me — I rinsed and thoroughly dried the plastic and reassembled the Game Boy and photographed a side-by-side before and after:

If you look closely, you will notice some of the blotchiness I mentioned above.
Overall, I’m quite satisfied with the end result. This restored Game Boy teleports me back to Christmas 1989, unwrapping my first console ever, and playing Super Mario Land for hours on end.